Showing posts with label gel print. Show all posts

Saturday, February 27, 2021

Upcycled Storage Box

 I love a "good" box or bag and have a hard time letting go of them. Two years ago I got a new smartphone and it came in a nice, sturdy box. I stashed it away thinking that one day I could put it to use.

Yesterday was that day.


I got out my gel plate and paints and printed a bunch papers. 


I used those prints to cover my smartphone box!


It's the perfect size for storing my Posca paint pens.


I couldn't entirely wrap the bottom of the box because the cover is a really snug fit. I like the bright blue so that worked out fine. The surface on the inside of the bottom was scarred so I cut print down to cover that up. I did the same to the underneath.


Now I am wishing we still had the box that Jeff's phone came in! 


Tuesday, September 15, 2020

Busy Hands

 Here is a little sampling of things I have been working on.


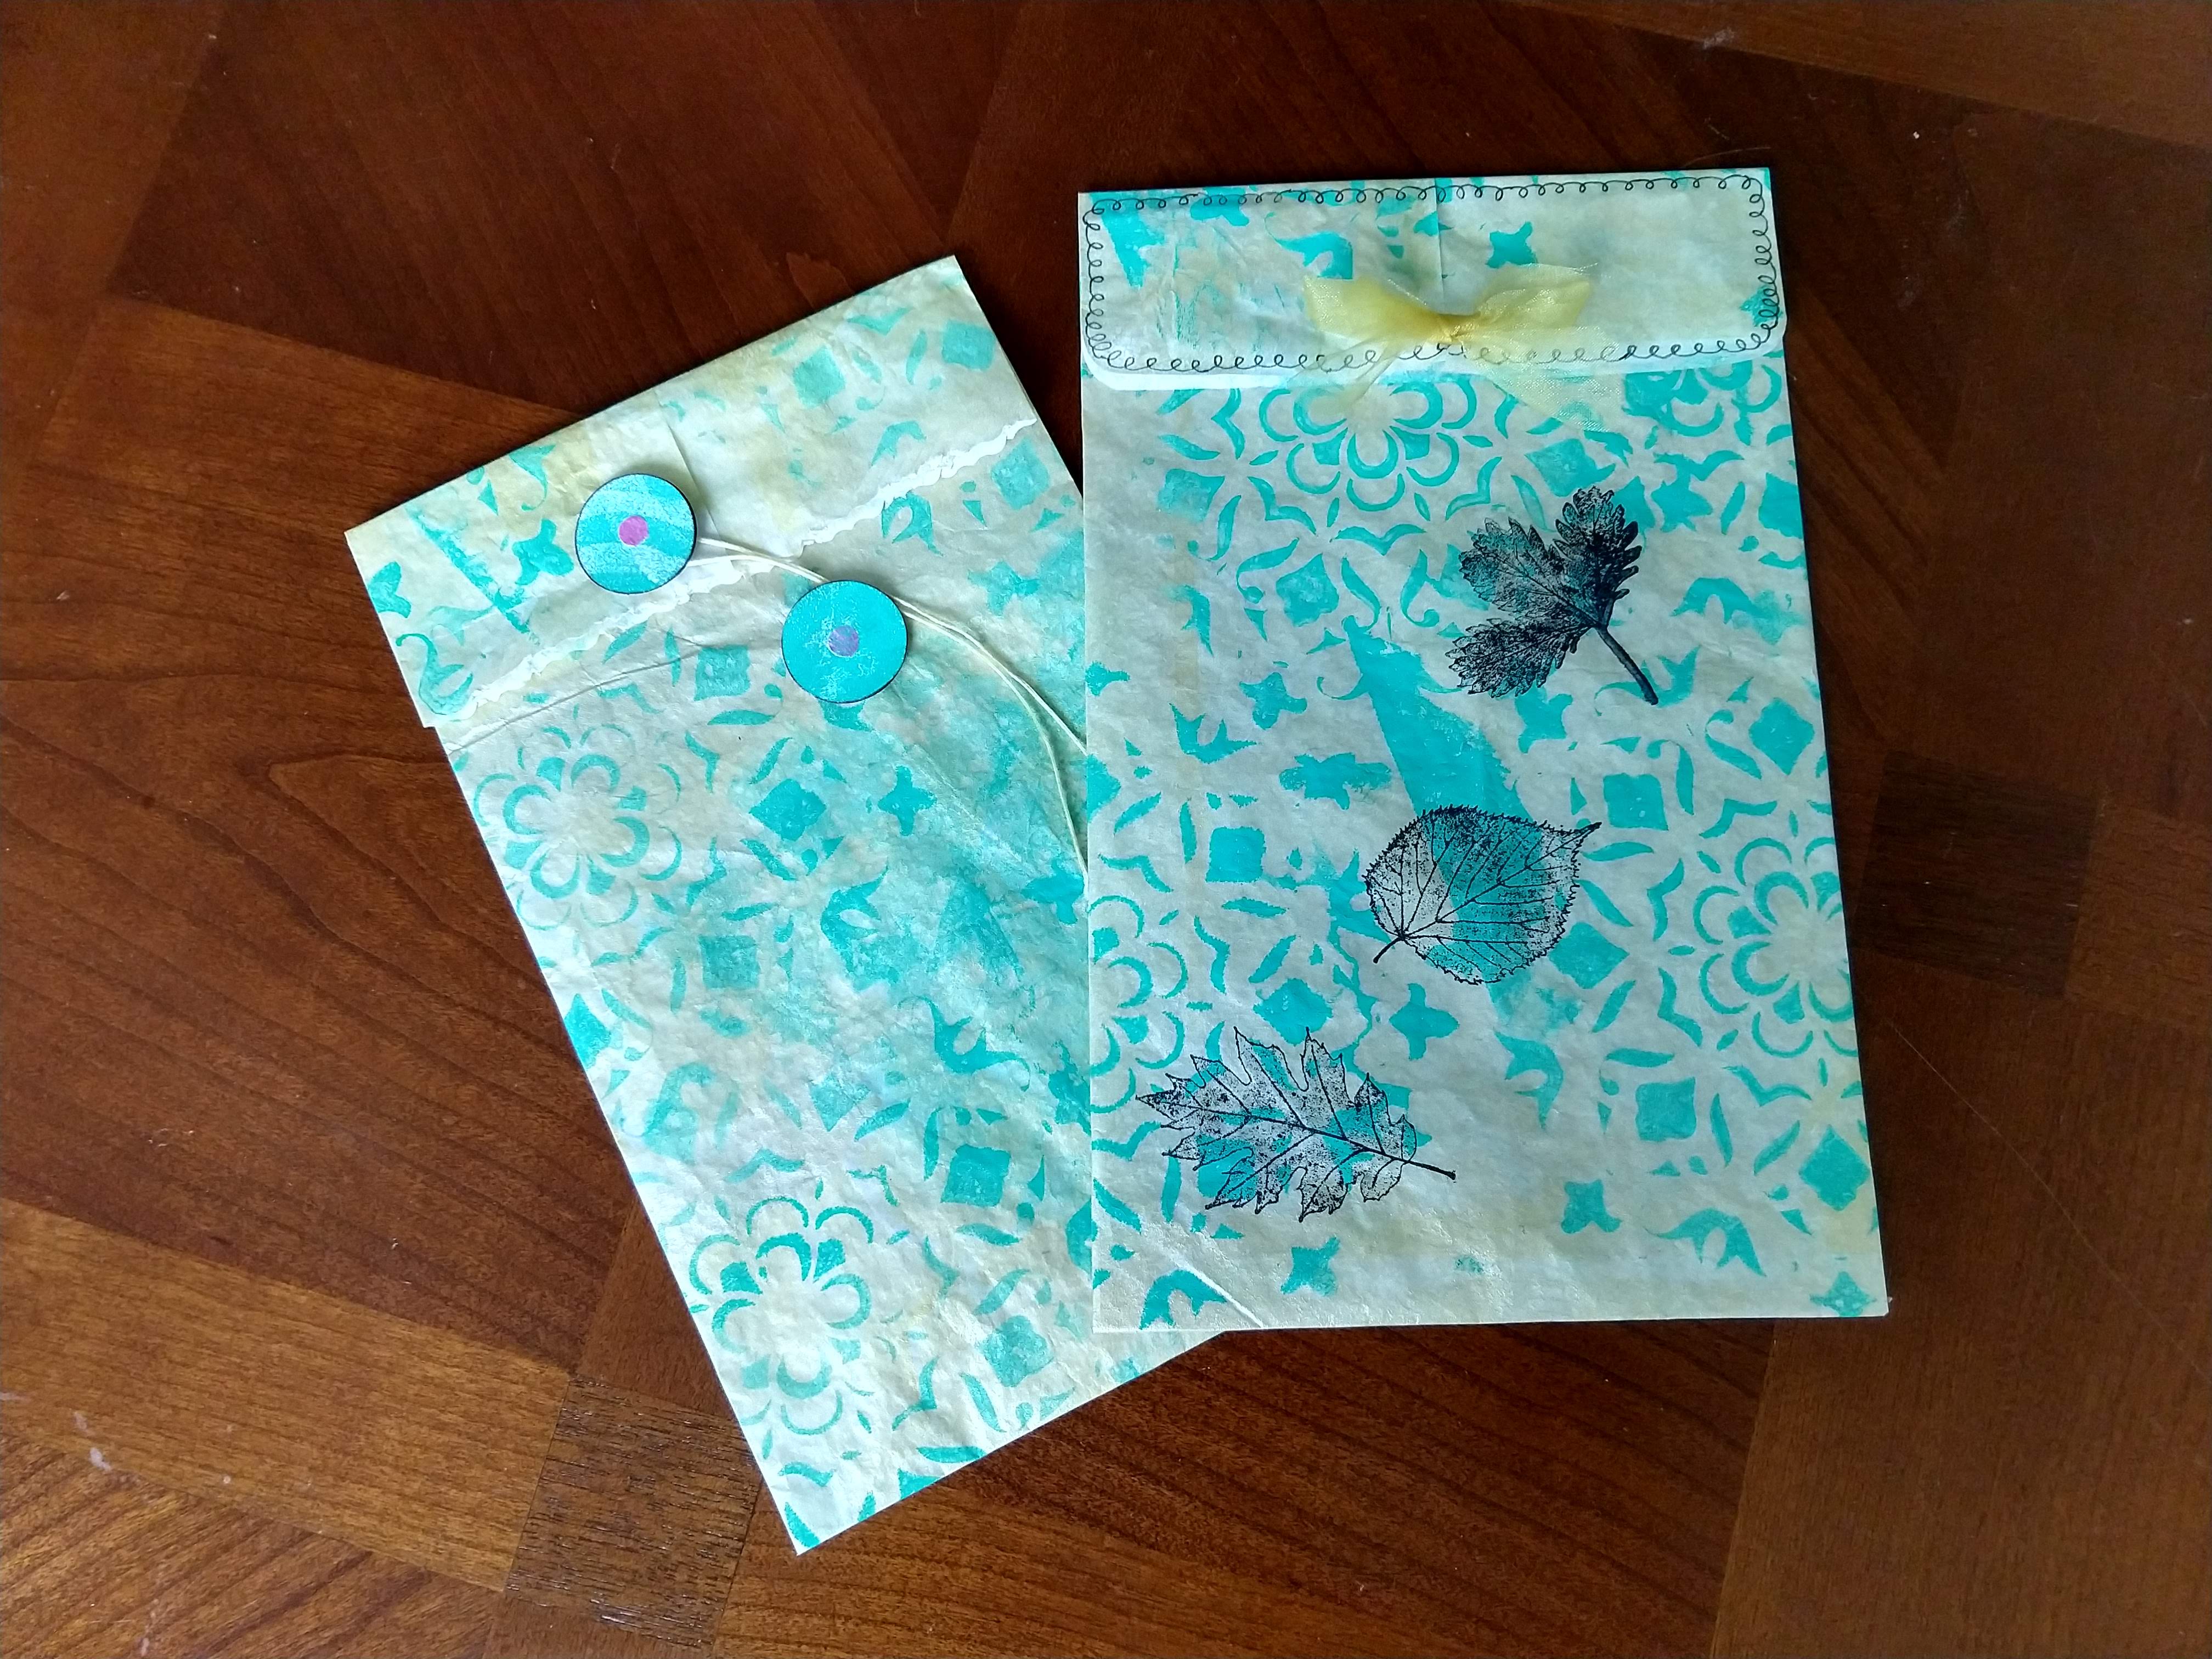
I watched a few YouTube videos this summer about making glassine envelopes using deli paper.


I spent an afternoon printing the deli paper using my larger gel plate. The printing process is always fun. Not every print is a success the first time around, but you can almost always print layers over it and turn it into something cool. I keep everything I print and often use scraps in other projects.


The envelopes were fun to assemble and add details to them. These were made in random sizes and I will probably use them as little gift bags. I plan to make more that are a standard card size. Not good for mailing, but nice for in person gift giving or to tuck in a box to be shipped.


I have a finished a fourth coptic stitch bound book. I made this one for my daughter who loves all things French. I bought a set of Paris stamps some time ago and thought they would be perfect for this project. I used a combination of parchment and glassine papers for the signatures and they were much easier to bind than watercolor paper. I gel printed the cover papers with this book in mind.


And YES, I still make pots! I am currently overwhelmed with piggy bank and salt pig orders. In between making those I am trying to make a few cheese stones for each firing. They are starting to sell online, which is a good thing since our gallery is still closed for in person shopping.

Have a great week, and if you are in the path of hurricane Sally, or the terrible wild fires on the west coast, I hope that you stay safe.

Always remember the three W's.
Wear
Wash
Wait


Monday, May 11, 2020

Image Transfer

I have really enjoyed printing with a gel plate. Initially I had purchased a small 6"x 6" plate and after using it for a month, I decided to get a larger 8"x 10". I found a different brand that was a little less expensive. I haven't noticed a difference between brands, other than price.

The technique that has really intrigued me is using it for image transfers. It's taken a lot of experimenting with different acrylic paints and application thickness. I think I am getting close to success!


I rolled a layer of black on to the gel place and placed a stencil over it. I want to create some negative space to fill with color in the second layer, so I pulled a print to remove some paint before taking the stencil off.


Once the black paint has completely dried I apply some colors over the flower design. I let this layer completely dry as well. Sometimes I use a hair dryer on the cool setting to speed up the process. Don't use a heat tool on a gel plate. It gets too hot and can damage your plate. When it's dry it's time to pull your print. That's when the magic happens!
Apply a thin layer of paint over the gel plate, place your paper on top. I have had the best luck rolling over the back of the paper with a clean brayer. Slowly peel the paper off of the gel plate to reveal the print.

I didn't get a photo of the plate with the transfer coat of paint because you have to work fairly quickly during this part of the process. You want to pull the print before the paint dries.


At first I was having problems with a lot of patchy areas that didn't transfer. I have eliminated a lot of that by applying a thinner coat of paint on the transfer layer. I am still getting some spotty areas but I am okay with that. I sort of like the look. 


These are some prints I also pulled during the process. I try to not waste any paint. They are printed on cover stock that I found in my office. I am trying to use up paper that I have on hand.


These were printed on deli paper. Layered over some other prints. These can be used to make little envelopes, wrap small gifts, or incorporated into collage.


This is a "ghost" print that I did over watercolor paper that was printed with distress oxide ink. I really like how this turned out.
The prints done on heavier paper may get used to make journal covers. I have been doing some simple binding techniques. Next on my "to learn" list is to teach myself how to stitch a coptic binding!