Showing posts with label monoprint. Show all posts

Tuesday, September 15, 2020

Busy Hands

 Here is a little sampling of things I have been working on.


I watched a few YouTube videos this summer about making glassine envelopes using deli paper.


I spent an afternoon printing the deli paper using my larger gel plate. The printing process is always fun. Not every print is a success the first time around, but you can almost always print layers over it and turn it into something cool. I keep everything I print and often use scraps in other projects.
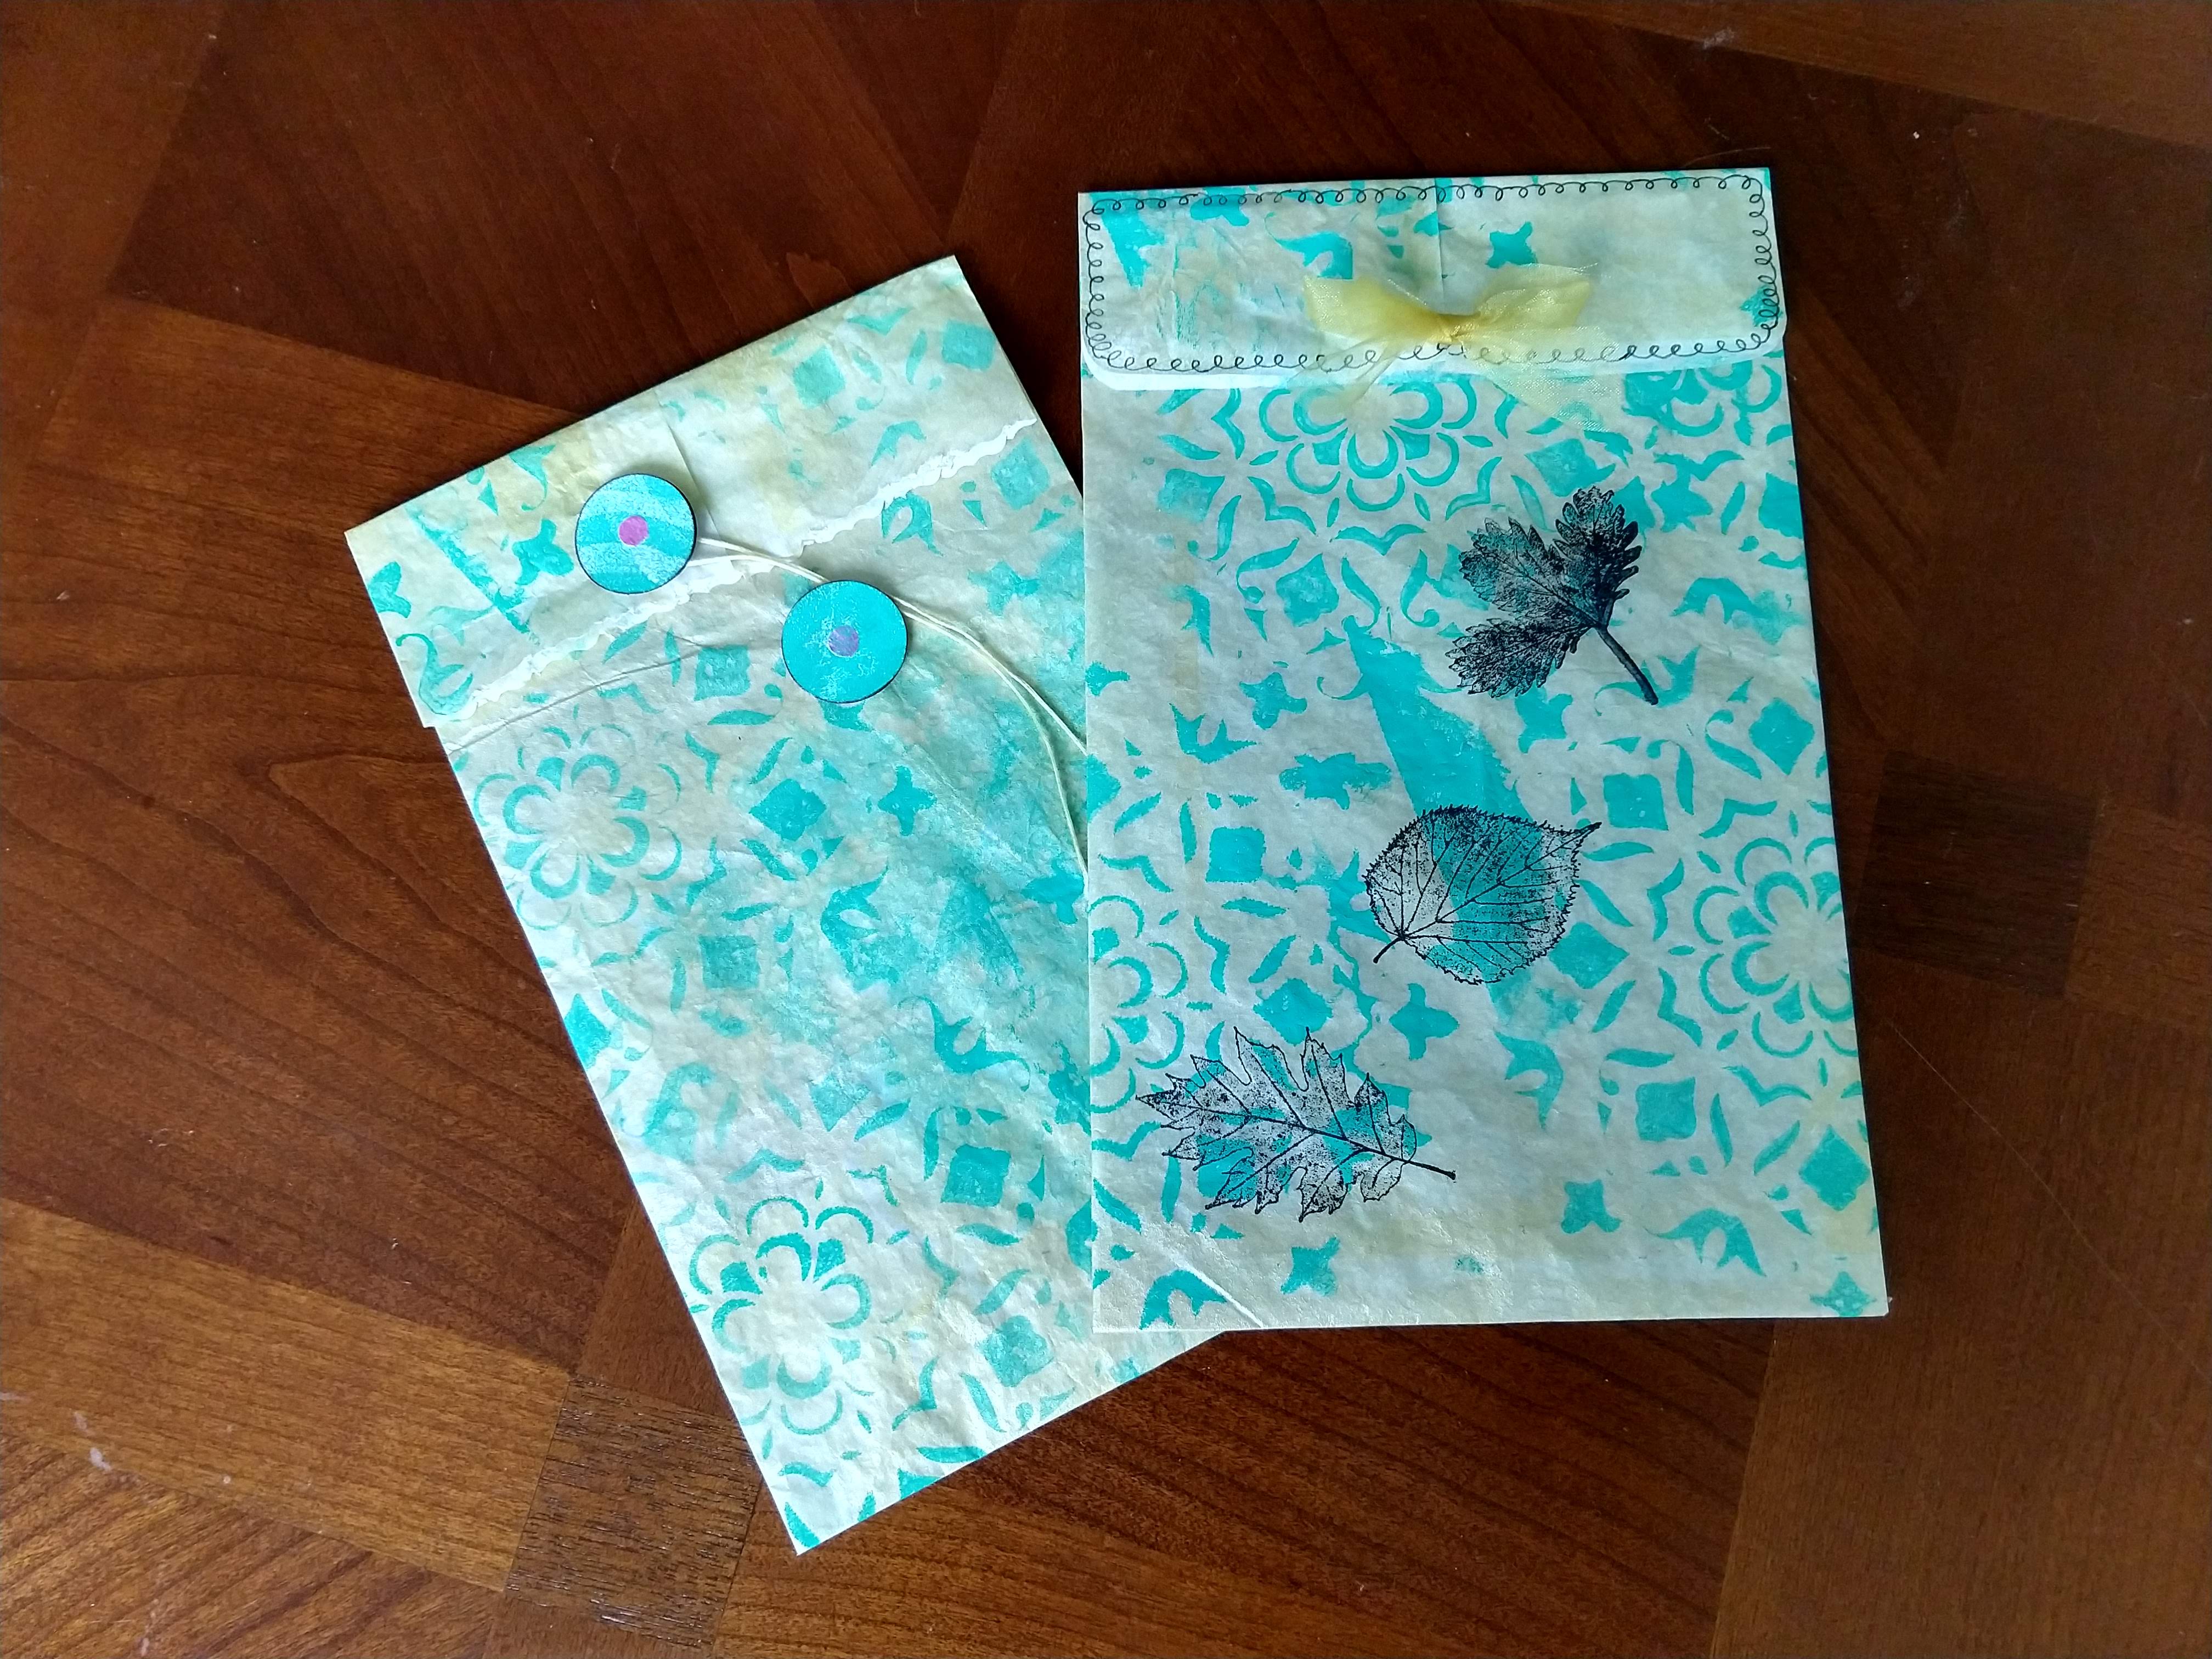

The envelopes were fun to assemble and add details to them. These were made in random sizes and I will probably use them as little gift bags. I plan to make more that are a standard card size. Not good for mailing, but nice for in person gift giving or to tuck in a box to be shipped.


I have a finished a fourth coptic stitch bound book. I made this one for my daughter who loves all things French. I bought a set of Paris stamps some time ago and thought they would be perfect for this project. I used a combination of parchment and glassine papers for the signatures and they were much easier to bind than watercolor paper. I gel printed the cover papers with this book in mind.


And YES, I still make pots! I am currently overwhelmed with piggy bank and salt pig orders. In between making those I am trying to make a few cheese stones for each firing. They are starting to sell online, which is a good thing since our gallery is still closed for in person shopping.

Have a great week, and if you are in the path of hurricane Sally, or the terrible wild fires on the west coast, I hope that you stay safe.

Always remember the three W's.
Wear
Wash
Wait


Thursday, April 30, 2020

Cuteness Overload!


I am in LOVE with these little paper purses! I can't even tell you how much fun I had making them. I found a couple of templates online. I decorated the paper using multiple techniques... mono-print, distress inks, acrylic paint, stencils, and stamps.


I made the backsides of the paper in a complimentary design to mimic the lining of a real purse. My paper wasn't very thick so I gave each of them a coat of matte medium.

I think adding embellishments was the most fun.

I filled each one with a tiny bag of little candy and I am sending them off to my favorite girls... great nieces in New Hampshire, and one to my daughter in Connecticut, who has a great love of handbags.
They took me so long to make that if I added up my time they would cost more than a Coach bag!

Monday, April 20, 2020

DIY Washi Tape and Handmade Cards

I recently bought a small gelli plate for mono-printing. Printers used to make their own plates with gelatin, and you still can, but now there are a few companies that manufacture them. The bonus is that they are quite durable and they should last for years if you take care of them.

I recently saw a YouTube video on making your own mono-printed washi-tape. I had all the ingredients to make it happen! 

The first step is to tape strips of masking tape onto wax paper. Don't overlap. 

Second, roll out some acrylic paint onto your gelli plate. I wanted random, bright colors.

I impressed some designs onto the plate and pulled a few prints using the taped wax paper. If you don't have a gel plate you could always sponge paint the tape with acrylic paint.

Once my layers of printed paint dried, I stamped and stenciled random designs.

Why make washi-tape when you can buy it reasonably priced? I wanted to use it to bind multi-fold cards. I wanted to the tape binding to blend in with the card.

This is my first attempt at a three fold card with a washi-tape binding.

I had so much fun creating it!

It took me a few days to complete because I kept adding new layers and embellishments. I am quite happy with the results and plan to make more. The washi-tape "hinge" blends in nicely.

 But now lets get back to the handmade washi-tape...

In theory, you should easily be able to pull the tape off of the wax paper. The first day I made it, it appeared that it would lift off easily. Three days later, when I was ready to assemble my card, much of the tape would not come off the wax paper. It could possibly be that my masking tape is too heavy duty. It's the same tape we buy in bulk to tape bubble wrap when packing pottery. Maybe inexpensive tape works better. Another thought is, the artist in the YouTube video is in Italy. European waxed paper may be different from what we get here in the US. I am going to give it another try with an idea that Jeff gave me. Lay masking tape down on a board or piece of cardboard. Tape another layer of tape over that tape. Print, stamp, and embellish the second layer. In theory, it should peel off easily, since that is how tape works on a roll. Hopefully, your first layer of tape can be re-used to make more. I don't like being wasteful!
I will post again when I finish my second attempt. In the meantime, feel free to ask questions, or share your method if you have made your own washi-tape.

Be well, and keep creating!