Showing posts with label oval bakers. Show all posts

Wednesday, February 19, 2014

Not So Round Pots


 Remember the oval bakers from last month, the ones made by cutting a crescent out of the bottom? I have fired a few of them and so far no cracks. One cracked during the drying process (of course it was one with ginkgo leaf carving) and ended up in the scrap bucket. The other carved ones came out of the kiln and off to the "Treasures of the Earth" show in Shelby, NC.  They came out nice and I hope they don't come back home in March!

Even though I had more success with this round, I am not going to do ovals using this technique any longer. It's just too iffy.


Despite the snowstorm last week, we have daffodils and a few crocus starting to bloom! I am always excited about the first flowers of the year. Especially since they are so much earlier here in North Carolina than New Hampshire. While I was taking photos of flowers, my friends and family in New Hampshire were dealing with another foot of snow.


I am so ready for spring this year. We have gone through nearly four cord of wood and I am tired of writing giant checks to the propane company!

Sunday, January 12, 2014

Squished pots

2014 is off to a busy start, with many orders to fill. In between, I had to squeeze in a few "I just want to make them" pots.


 It felt like forever since I made a covered oval. I am going to fire it in the gas kiln with green and shino glaze. Since I only did one, I was happy as a clam that the lid fit well. I tend to have more trouble with the lids rocking on the more elongated ovals. There is less fussing with them when it's a gentle curve.


Sometimes these small bakers are a curse. I hope they won't be this time, because I made quite a few, only committing three to carving. This is a shape I haven't made in a few years. They are done by cutting a crescent out of the bottom, then squishing them into the oval shape and filling and compressing the spot where the crescent was removed. The perfect scenario for a bottom crack. I was extra diligent with these and I am keeping my fingers crossed for nice bottoms. When they were done I decided that making them in two pieces is probably quicker and less problematic.
Sometimes I have to learn the hard way.


Monday, April 8, 2013

snips and snails, and puppy dog tails...


I finally got around to completing these today and it seemed to take all day. I think I attached and removed handles three times on each oval. I am not sure I am done with the one on the banding wheel.
Tomorrow I will take another look at it and decide if it needs something else.

The other big news around here is that Jeff took the afternoon off to get his annual, spring haircut...


His hair had gotten so long that his stylist cut off enough to donate to Locks of Love! Donated hair must be 10" in length to qualify. I didn't even realize Jeff's was that long! I read on the website that gray hair won't be used for the organizations purpose (to create hairpieces for children) but will be sold to offset the organizations expenses. I liked his long ponytail but I think this shorter one really rocks!

Tuesday, October 2, 2012

October is here...

and I am happy to welcome it! September was a really slow sales month for us and I am hoping that things will pick up now. At the end of the month we are heading to New Hampshire with our traveling raku kiln to do a few workshops. One at Hillsboro High School and two more at Sally Cornwall's studio in Wolfeboro. My sister lives in Wolfeboro so we will spend most of the week with her. As I have mentioned before, my sister and I share the same birthday - October 27th, so we will be together to celebrate!

Here we are in '62, on my first birthday and her 5th

On another good note, this piece sold from our gallery yesterday...


When I made this covered dish I wasn't happy with it. I had to really fuss with the lid to get it to fit right. I wasn't going to fire it but Jeff said he liked and thought that I should. Even when it first came out the kiln I wasn't excited about it, but it sort of grew on me. I didn't put it in the gallery until last week and it already has a new home.


I'll leave you with a small ginkgo leaf cup that came out of the wood firing at David Stuempfle's last month...


Friday, August 31, 2012

Wood firing!

Patience has paid off for me. 


I made these covered ovals back in May and really wanted to wood fire them. I was anxious to see them finished but I resisted glazing and firing them in the gas kiln. Next week I will have the opportunity to fire them in David Stuempfle's wood kiln. The tumblers behind them will also be going in. I threw the tumblers a year ago when I was doing demonstrations for the NH Potters Guild at the League of NH Craftsmen's Fair. A company in Vermont donates the clay and last year a good bunch of it was Laguna B-mix for wood. These should come out nice and toasty. The ovals are Highwater P-10... I am not sure exactly what these will look like, but most likely not as toasty as the B-mix. Jeff has a gigantic pot to fire.


The temperatures have been cooler here, but the humidity has been, in my opinion, oppressive. The lawn needed mowing (again) and last night there was a nice breeze so I decided to tackle it.
After the mowing Jeff and I had a nice cool treat...

Carolina Brewery - Oatmeal Porter. We had to go to Greensboro the other day to pick up a cup we purchased from the By Example show at Green Hill Center for the Arts. While there we took advantage of our time and did what we call "good grocery shopping". There is a new Whole Foods in Greensboro and they carry Carolina Brewery beer. Since we don't even have a grocery store in Seagrove, and the ones in nearby Asheboro don't have a great selection, we consider an afternoon of grocery shopping in Greensboro a great day out!

and the beer tasted even better in our Samantha Henneke and Mark Hewitt tumblers :-)

Friday, June 29, 2012

And the results are in!

I am now getting around to taking some photos from the firing this week. 

 I am happy with these flower & leaf carved bowls. Only two got into this firing, but there are more on the way. We had some really nice reduction this go around. The shinos are lookin' lovely.

 This baker was a re-fire. It is one of two. When it came out of the first firing, the turquoise was almost black. The shino on the interior had some crawling near the seam. A little additional glaze corrected that problem. As for the turquoise, it's not exactly the color I like but it looks much better. I re-fired another one and it has also been saved from the seconds shelf. Sometimes there is hope for re-fires!

The gloss greens were looking really good on everything.


About half of the wall pockets were fired and they are already in the Etsy shop. Clicking on the photo will take you to the listings.


Saturday, June 2, 2012

Getting back to work... but I have the best job in the world!

I often find it hard to get back to work after taking a few days off. In between loading the kiln this week I HAD to touch wet clay... it seemed like weeks since I sat at my wheel (yes I am still sitting). The first day I threw the bodies of oval baking dishes and the next day I rolled out the slabs and assembled them. This time I made some large ones, most of them 12" plus in length. 


I am also working on some more wall pockets. This was a form I played with awhile back and they have sold really well. There are only two left in the gallery and since they are simple forms to make I figured why not do some more? 

In the past I have either glazed these in shino, dusted with wood ash or wood fired/salt glazed. I may experiment with some other glazes this time.


The kiln is at 337 degrees and I am anxious to unload. There are some piggy bank orders in there that I am nervous about. I really don't like to do special orders for that reason! I will get some photos up here on the blog as soon as I can.
Happy Saturday and don't forget to put a bird on it!

Saturday, April 28, 2012

living vicariously through Jeff via facebook and skype

Jeff's flight to South Korea went well, we had a delay in communication when he got there... his e-mail to me took about 8 hours to arrive in my mailbox. I had checked his flight online and new it arrived on time so I wasn't too concerned. We were finally able to chat on facebook the night before last, while he was still staying at the airport spa. Yes... the airport has a spa where for only around $25 or $30 dollars you can spend the night, have shower, sauna, etc. It worked out perfectly for him since he arrived in Seoul in the evening and wouldn't be picked up by the festival group until the next day.
I hadn't heard from him since Friday night but tonight we talked on skype for a bit before he had breakfast (they are about 13 hours ahead of us). He is having a great time, the food is awesome, and the opening ceremony of the festival was exciting and a real learning experience. He took some video and I begged him to send some pictures for me to post.
On the home front, my friend Bonnie came to visit for a couple of days and we had fun with clay and an evening of good food, cosmos, and girl talk. We also watched some dvd's about fine craft. It's so nice to have friends that don't get that glazed over look at movies you suggest!

Jeff took the newest camera to S. Korea so I have been updating Etsy with my old Sony - 2.1 megapixel camera! It has actually surprised me. The one thing it sucks at is taking close ups. Even when I switch it to macro, they are blurry. I suppose I could search for the handbook, and get some help but for now I will make do.


Hopefully the next post will be pictures from South Korea!

Thursday, March 8, 2012

a new to me technique for covered ovals!

I have always struggled with making covers for my oval or even worse, my wavy oval bakers. Jeff came home from the NC Potters Conference with a technique, demonstrated by Martha Grover, that he said would be helpful to me. Jeff did a demo and then I gave it a try on ovals. I decided to just do a few small ones to work the idea through, later I will move to larger and wavy ones.

After throwing my bottomless cylinder with a gallery, I measured the gallery with calipers and threw a ring that would fit inside. After letting them set under plastic overnight I cut them off the bats, placed the ring inside the cylinder, and squeezed the two, simultaneously into the oval shape. I then put the bottom on the cylinder, I typically throw the bottom slabs on the wheel, but sometimes use a rolled out slab.
Next I used a slab to finish the cover...


I plan to slip and carve the tops of these and add some handles.

I experimented with a wavy top. Still needs some more work, not sure where this one is going yet. It could end up in the scrap bucket!
I was impressed at how well the covers fit. When I used the slumping inside the cylinder technique it was always problematic because when you flip the lid over it fits on the container in reverse... really a pain if it's a wavy oval.
We are enjoying mah-valous weather in Seagrove today and I am writing this post from out on the porch - 5:30 pm and 70 degrees!
Jeff took the plastic cover off of our little winter garden and everything looks healthy and green.


Swiss Chard and broccoli along with some garlic... I can't wait to plant tomatoes!

Saturday, February 25, 2012

don't forget the plastic wrap...

I think that I hadn't thrown pots in nearly two weeks. We have been in a firing cycle so my days were spent loading kilns and glazing. Late yesterday, after loading the back stack of the gas kiln I decided I needed to get my hands in some wet clay.
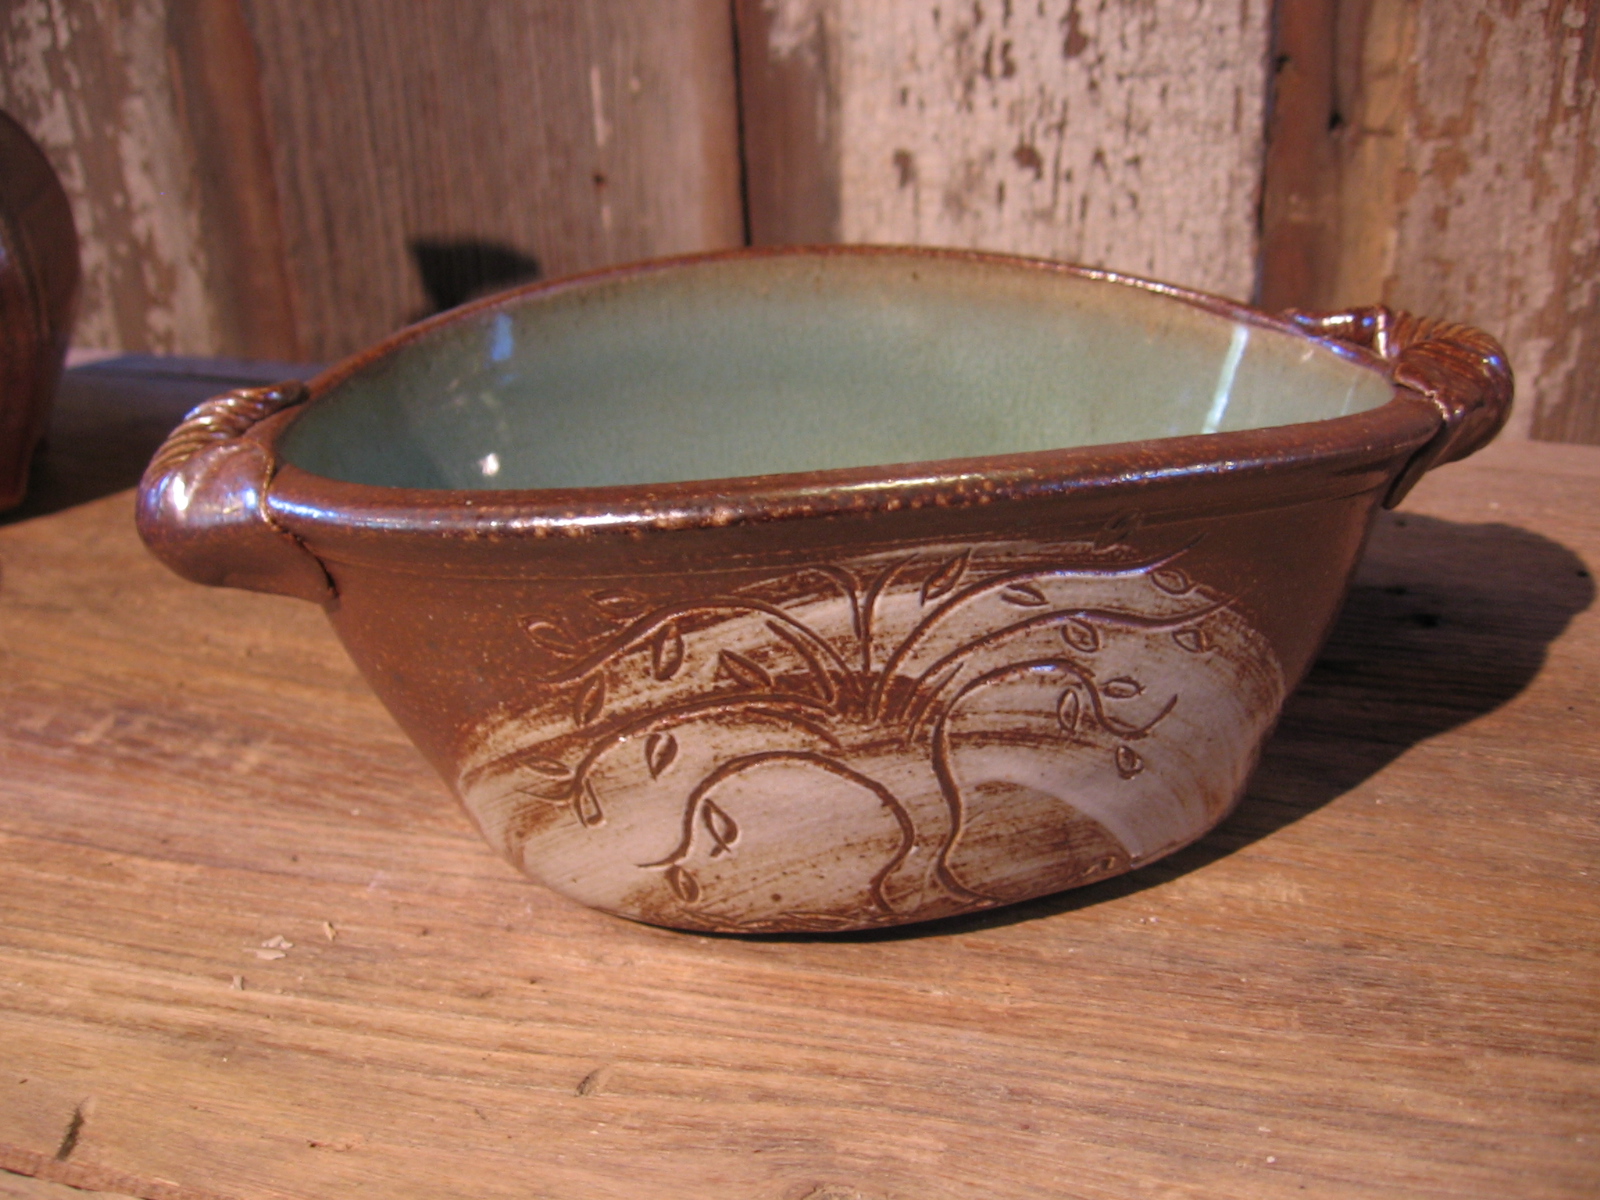
I threw the parts to make six oval bakers and my intention was that they would be wavy ovals. In order for them to be wavy, I needed to go out to the studio before bed and throw some plastic over them. At 8:00 am I woke up to that "oh no" feeling, remembering that I never went back out to cover my cylinders.
I ran out to the studio in my pajamas to check on them. Some rims were a little dry... darn. I sprayed them with water and wrapped them in plastic. A short time later they were ready to alter. Only a couple of them could be made wavy. I knew if I pushed my luck with the others the rims would crack.


I finished all six by this evening and they are covered in plastic so they can dry slowly.

Yesterday, while I threw these pots, I was listening to an interview on NPR with the President of High Point University, Dr. Nido Qubein. He was inspiring to listen to. Lately so much of the news is doom and gloom about many things and mostly the economy. I truly believe in positive thinking and that negativity breeds negative outcomes. I heard Dr. Qubein say something and I was compelled to write it down. It's not an exact quote, but enough to get the point across...
When asked what he learned since becoming the President of the University he had a long list of answers, but this one stood out, "I have learned that there is a recession, but it doesn't mean you need to participate."
I like how that ties in to my other favorite quotes from other intelligent and creative people.

Just Work

Follow Your Bliss

I am feeling really good about 2012, I know Jeff and I are off to a great start. Be well friends, and have a good night.

Sunday, February 27, 2011

back to the ovals

i was having trouble being productive this week so i decided to go back to the oval dishes that i have always enjoyed making.

the middle one is the largest i have made so far... about 15" from handle to handle

this one is a little different, taller and chubbier with a different handle design.
going back to this form helped me out of the funk i was in and i was back to making bowls while waiting for the ovals to be ready to finish.
i would love to wood or salt fire these but i may not be patient enough to wait for that opportunity so i may fire a couple of them in the gas kiln.

this small jar was from the latest gas firing and is now listed in my etsy shop... i was pretty happy with how it turned out:


Monday, January 17, 2011

the baking dish

joe bennion has a wonderful post over on his blog Potter's Journal.  if you don't already follow his blog i encourage you to check it out.  i have admired joe's pots for years and someday hope to own one.  

here is the inspiration for my oval baking dishes...


Oval Baker by John Zentner

i wish i had this baker... it was in Strictly Functional in 2008 and sold in the show.  i can't believe that i don't have a single one of john's ovals, they all sold quickly i guess.

Sunday, December 5, 2010

good wood and wavy ovals


wavy baker - listed on Etsy... and the buyer will get my artichoke dip recipe to bake in it!
YUMMY

yesterday we had a cord of wood delivered by a reputable company... not rednecks who arrive in an 
S-10 blazer towing a trailer made out of an old pick-up truck bed (yes, that is how our $40 dollar mostly wet wood & sticks arrived).  these people had a real truck, the wood was dry and split and here is the BEST part... they came into the gallery and bought lots of pottery!  in the end we pretty much just exchanged checks.

P.S. we fired the gas kiln yesterday, can't wait to peek in later!

Friday, October 22, 2010

new pots!

some quick shots of work that came out of the wood kiln this morning...

the new style of ovals

wavy oval

handle detail of wavy oval

remember this guy? i made him in northwood before the move... i had regretted not giving him a coat of slip before the bisque firing and wasn't sure how i would glaze him.  at the last minute i decided to put him the wood kiln.  perhaps he is a new breed of brown sheep!

Thursday, October 7, 2010

finally recovered...

it seemed like it took two days to get over being up all night stoking the wood kiln.  i did get some work finished in the studio...


these are some new oval designs i have been experimenting with. they are not made in two pieces like my usual ovals.  instead i cut a crescent shape out of the bottoms, while they are still soft, and squeeze them together. some have handles and some do not.  i am still playing with carving designs through white slip, and a few of them i stamped.  so far i have 8 of these babies finished.
i will try to be more productive tomorrow.

Thursday, September 16, 2010

put a lid on it...

it was hard to get back to work today after yesterday's trip to the zoo... of course the oval bakers were in the studio waiting for their covers...

i roll slabs and let them set up a bit.  then i put plastic over the dishes and lay the slabs on top, impressing the slab into the oval and it's gallery.  i use a plastic rib along with my fingers to do this... pressing the slab in as far as i would like the dome of the lid to be when it is turned over on to the baker.


  i then let this set up until it is still pliable but sturdy enough to trim and shape to fit into the gallery.  it is always a challenge to keep the baker from drying out too much.

two of them are finished... the other has to wait until tomorrow because i wasn't happy with how the lid turned out and decided to start over...


once i decide to add covers to these babies it is so time consuming... but i love the challenge of making all the parts fit!

Friday, September 10, 2010

let the kiln building begin!

our new arch bricks arrived today!


we were fortunate that the only new bricks we had to order were for the arch... insulating firebrick or so damn expensive...


this gas kiln is going to be half the size of the kiln i had in northwood and will have a catenary arch as opposed to a sprung arch.  smaller means we can fire more often!!


we are also thankful that we didn't have to pour a concrete pad.  blaine avery who was here before us had poured the pad for his kiln.  he had also inlaid these neat little tiles at the corners... this was the only one i could get a picture of because the rest are covered with boxes of brick right now.
so excited to have our kiln at home with us... i loved my studio in northwood but it's location (4 miles from home) was not convenient, especially when firing.

i have been working on lot's of oval bakers & vases.  some will wait for the gas kiln to be completed and others i will fire in my neighbor dan triece's wood kiln at the end of the month.


Friday, August 20, 2010

putting the parts together

one of my favorite things to make is oval bakers.  i make them in two parts... i throw the bottoms and the tops separately on the wheel...
the tops are bottomless cylinders that i alter once they have set up a bit... depending on humidity it may not be until the next day...
i place the altered cylinder on top of the bottom, tracing around it with a needle tool.  i make a mark on both the top and bottom so that i can line them up properly when attaching them.  after tracing the oval i cut through it using an exacto-knife, it is little finer cut than a fettling knife.
i score both sections and depending on the dryness of the clay, either moisten the sections or use slip... to attach.

i smooth the inside seam with what i call i little wooden finger tool (sorry i didn't get a picture of it) and also my own fingers.  i smooth out the outside connection with a rib and my fingers.  i used to put these together at close to leather hard stage and then used the pony roller with WD-40 to smooth the seams.  i find working with the clay a little wetter gives me a little more fluid look.
this is a new shape, a little different than my "standard" oval, now i have to re-think the handles... that is my mission for tomorrow.  on a side note, these were thrown with laguna b-mix.  jeff and i will be wood-firing with our neighbor dan in september.  b-mix looks great in a wood-firing.

i leave you tonight with a picture of my studio mate today...

this little guy sat by my wheel most of the day :-)